

This is a professional-looking graphical 4 option or step-by-step guide PowerPoint presentation. Because of its professional look and graphical look, this presentation can be used almost everywhere. So now let’s take a closer look at how this presentation works shall we.
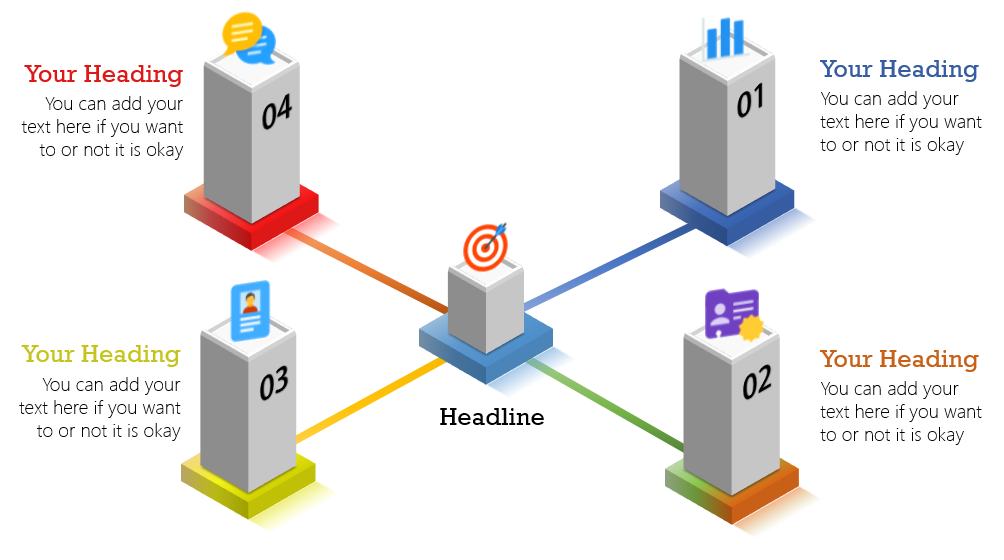
Let me give you an overview of this presentation slide. As you can see the rectangular boxes on the corner of the slide has their own number, an icon on the top, a little rectangular object below where it’s standing, and some text beside it. All of the corner boxes are connected with the rectangular box in the center that has a title underneath it, which highlights what is being explained or discussed. Don’t try to insert an icon to put it on the top of one of the rectangular boxes or the formatting will be destroyed. Let me guide you to having a different icon on the top of a rectangular box with having the same formatting accordingly to the icons you can see in the picture.
Right-click on the icon you would like to change.
There will be a small menu that you would see popping up when right-clicking the icon.
Click the “Change Picture” option.
A menu will open allowing you to browse and select a picture of your choice.
After selecting the icon you want you will see that the icon you want has appeared with the same formatting as in the picture.
The color of the rectangular objects you see below the top long rectangular boxes can also be changed easily. Just right-click it, Go to the “Format Shape” option. Go the the “Shape Fill” menu in the Format Shape sidebar that just opened, Choose what kind of filling you would like for your rectangular box below. In the picture, the rectangular box below the longer rectangular box has a gradient color fill.
If you also want to change the color of the top longer rectangular box, then just follow the same steps as you did for the rectangular box below it. Now you see the text on the long rectangular box. You can also format it however you like. Just make sure that it has the same rotation formatting. Without the rotation formatting, the box and text would not look good. You can also format the text beside the rectangular boxes however you like with no restrictions. The line you see that connects all the boxes together with the center box, its color can also be changed.
Make sure to not ungroup any of the objects you see on the slide. If you do so, the animation of the objects will all disappear. You can change the animation and the timing of the animation through the “Animation Pane” option.
Go to the “Animation” tab on the menu bar.
Click on the “Animation Pane” option.
There you will be able to control every single thing of animations. Now the animation is set so when you enter the slide show, the centered rectangular box will appear automatically. On the first click, the line connectors and rectangular colorful boxes below the long white boxes will appear together. On the second click, the rectangular box with the number “01” will appear with the text beside it and the icon on top. On the third click, the number “02” will appear with text beside it and the icon on the top, and so forth. But I suggest you keep the default animations. Because the animations are simple and professional. And also the timing is also aligned in a good format that everything comes in the right order.